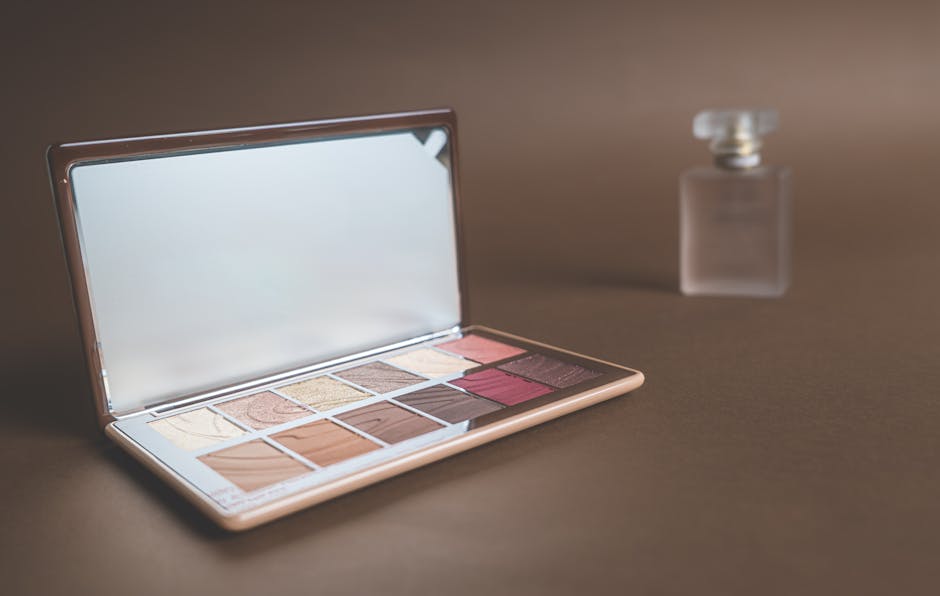
What is contouring and why do people use it?
Contouring is a makeup method that creates the illusion of depth and light on the face. By applying a darker shade than your natural skin tone in certain areas and a lighter shade in others you can shape the appearance of cheekbones jawline and nose. The goal is not to mask features but to enhance what is already there with subtle shadows and highlights.
Which products work best for a first-time contour?
Cream formulas tend to blend easily for those who are new to the technique because they melt into the skin with minimal effort. Powder products offer more control for building intensity gradually and are less likely to move throughout the day. Choose a formula that feels comfortable on your skin and matches the finish you prefer whether that is a soft matte or a slight sheen.
How do you choose the right shades for your skin tone?
Select a contour shade that is one to two steps deeper than your foundation without appearing muddy or ashy. For a highlight pick a tone that is one to two steps lighter than your foundation with a touch of warmth if your skin leans golden or a cool undertone if your skin leans pink. Testing the product on your jawline in natural light helps you see how it will look after blending.
What tools do you need to start contouring?
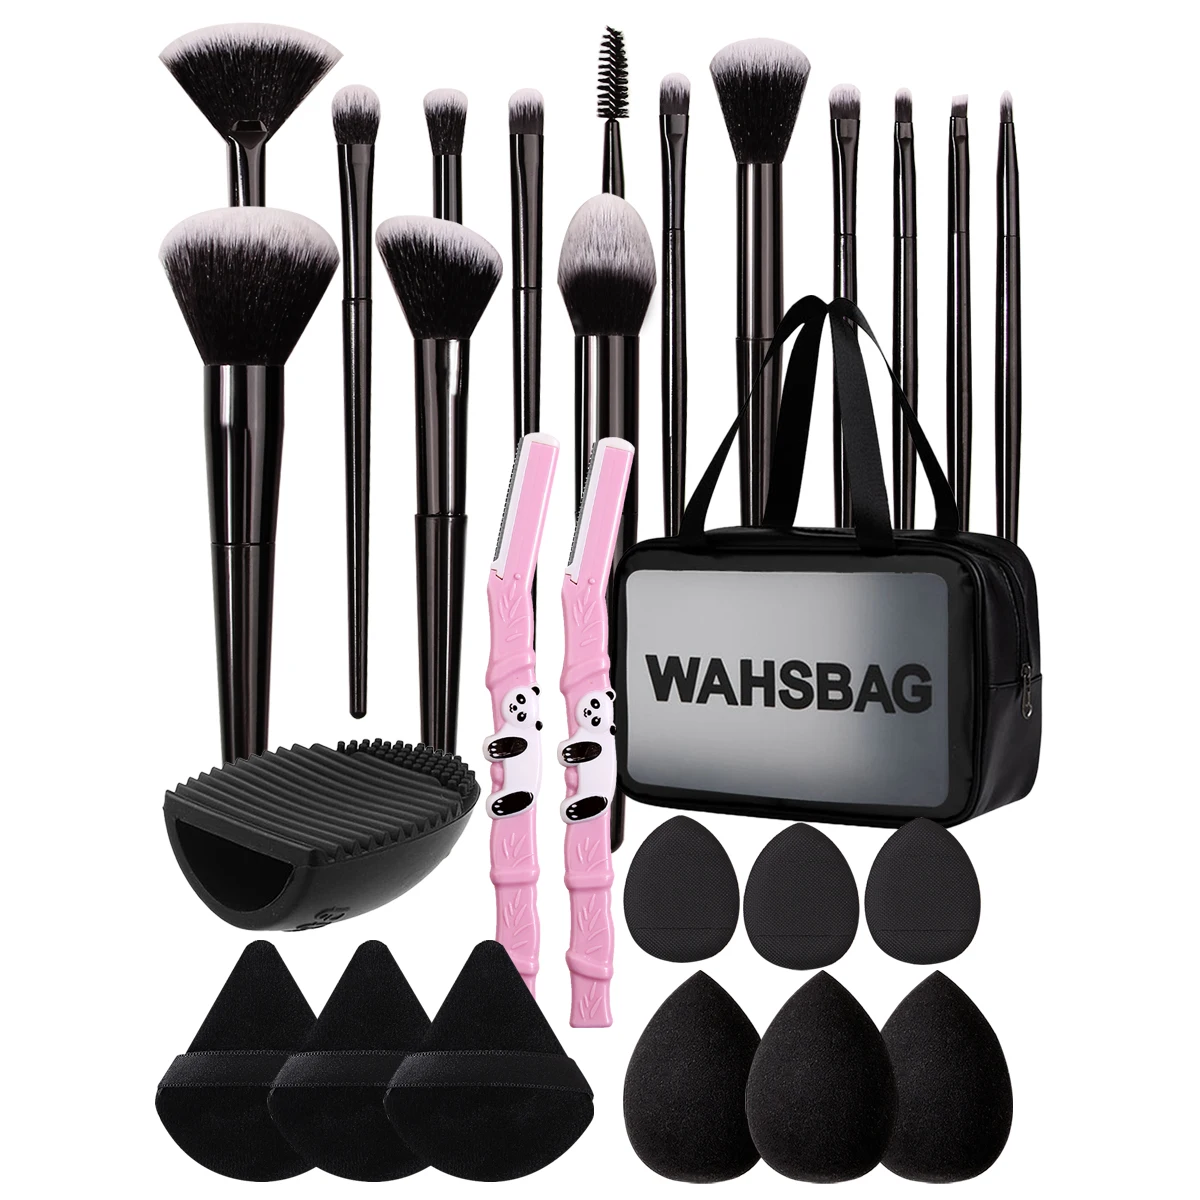
A small fluffy brush works well for sweeping powder contour along the hollows of the cheeks. A dense synthetic brush or a damp sponge is suitable for applying cream products because it helps press the formula into the skin. A clean blending brush or a soft sponge removes harsh lines and creates a seamless transition between light and dark areas.
Step-by-step: applying contour to the cheeks
Begin by locating the natural hollow of your cheek which is the area that sinks in when you suck in your cheeks. Using your chosen brush sweep the contour shade from the ear toward the corner of the mouth following the line of the hollow. Keep the motion light and build the color gradually rather than applying a thick layer at once. After placing the shade use a clean blending brush to soften the edge moving in small circular motions until the color looks like a natural shadow.
Step-by-step: defining the jawline and nose
For the jawline draw a thin line of contour along the edge of the jaw from the ear to the chin blending downward so the color fades into the neck. To slim the nose apply a narrow strip of contour on each side of the bridge starting at the brow bone and ending at the tip blending outward to avoid harsh lines. Place a tiny dot of highlight on the center of the forehead the bridge of the nose the cupid’s bow and the chin then blend each spot until the light looks like a soft glow rather than a stripe.
How to blend for a natural look
Blending is the step that separates a noticeable stripe from a believable shadow. Use a clean brush or sponge and work in light feathering motions moving outward from thecontoured area toward the center of the face. If you notice any harsh lines go back with a tiny amount of foundation or concealer on the brush to melt the edges together. The final result should look like a gentle shift in tone rather than a stark contrast.
Common mistakes beginners make (myth vs reality)
Many newcomers believe that a darker contour always yields a more sculpted look. In reality using a shade that is too deep can create a muddy appearance that looks artificial especially under natural light. Another frequent myth is that contouring must cover large areas of the face to be effective. The truth is that subtle placement on the high points of the face and the natural shadows yields a more refined result.
How to practice and build confidence
Start by applying contour only on one side of your face while leaving the other side untouched. Compare the two halves in a mirror to see the difference and adjust your technique accordingly. Repeat the exercise daily for a few minutes focusing on blending rather than speed. Over time muscle memory develops and the motions become smoother allowing you to work on both sides with confidence.
Recommended Makeup Tools

What to Remember
- Choose a contour shade that is slightly deeper than your foundation and a highlight that is slightly lighter.
- Use small fluffy brushes for powder and dense synthetic brushes or damp sponges for cream formulas.
- Apply product in thin layers building intensity gradually to avoid harsh lines.
- Blend outward with a clean brush or sponge until the transition between light and dark looks seamless.
- Practice on one side of the face first to see the effect and refine your motions before working on the full face.
Further Reading from Health Authorities
How this article was made
Researched and drafted with AI assistance, then screened by automated checks for originality, exaggerated claims and structure before publishing. No clinician reviewed it, and it is general information rather than medical advice. Read more at About us, or write to us if you spot an error.
Further Reading from Health Authorities
Advertising disclosure: the links below are affiliate links. We may earn a commission if you use them, at no extra cost to you. This does not change the article's content, and it is not a medical recommendation.
Browse makeup essentials on Amazon
Mineral foundations, brushes and makeup primers, as an Amazon category search. We have not tested individual products.